
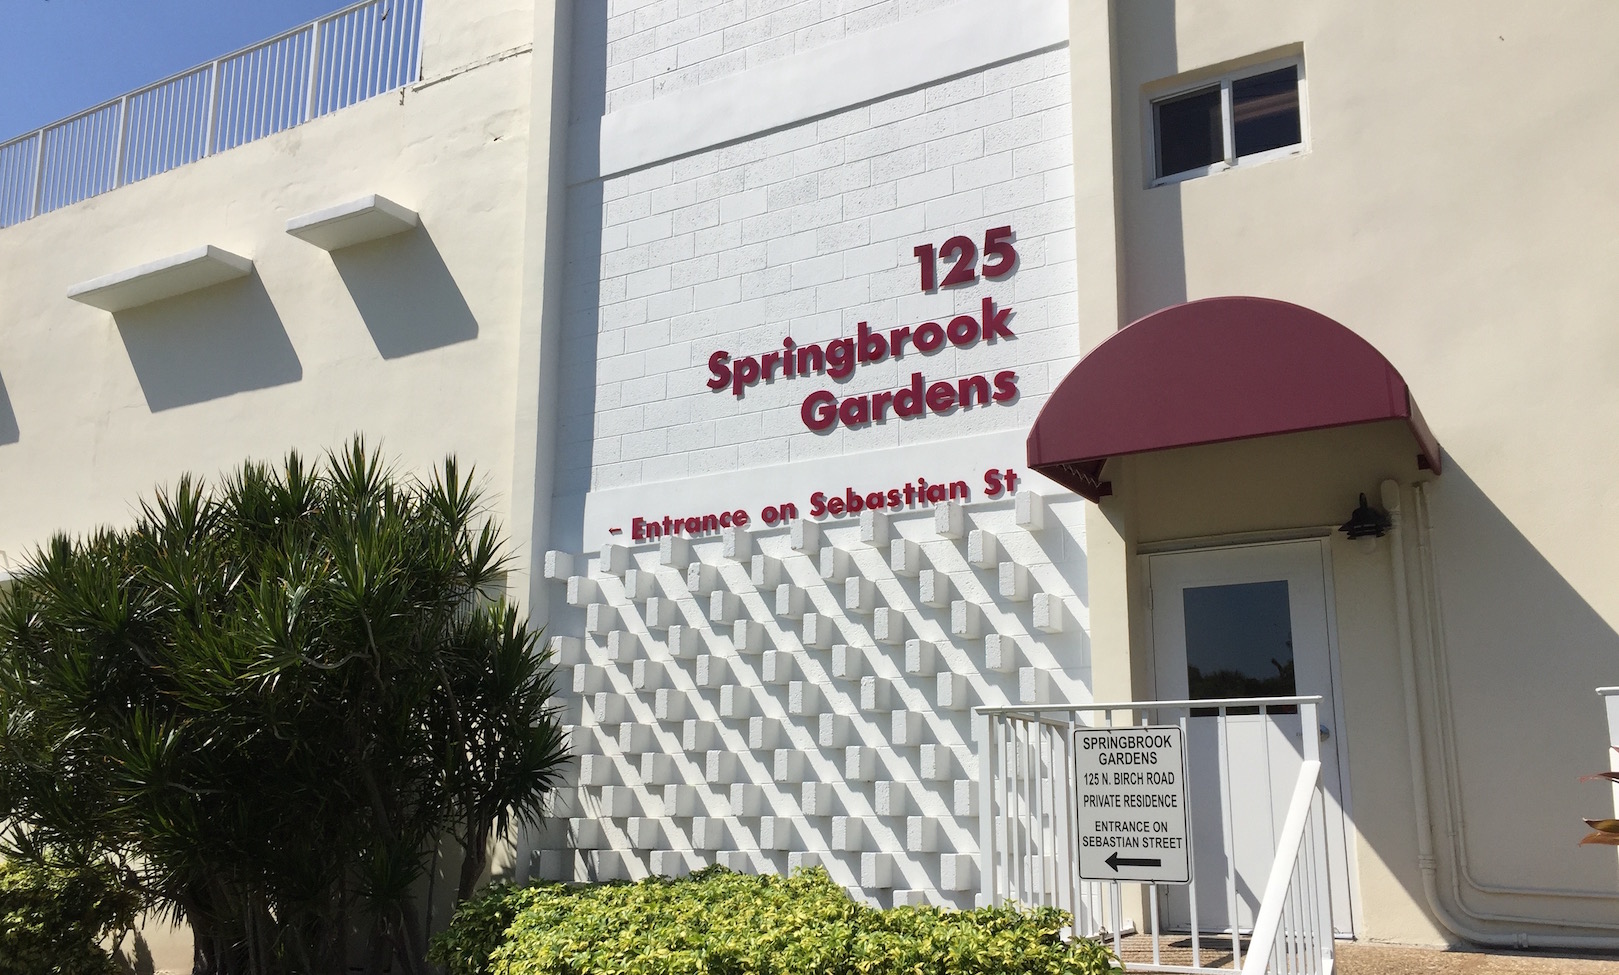
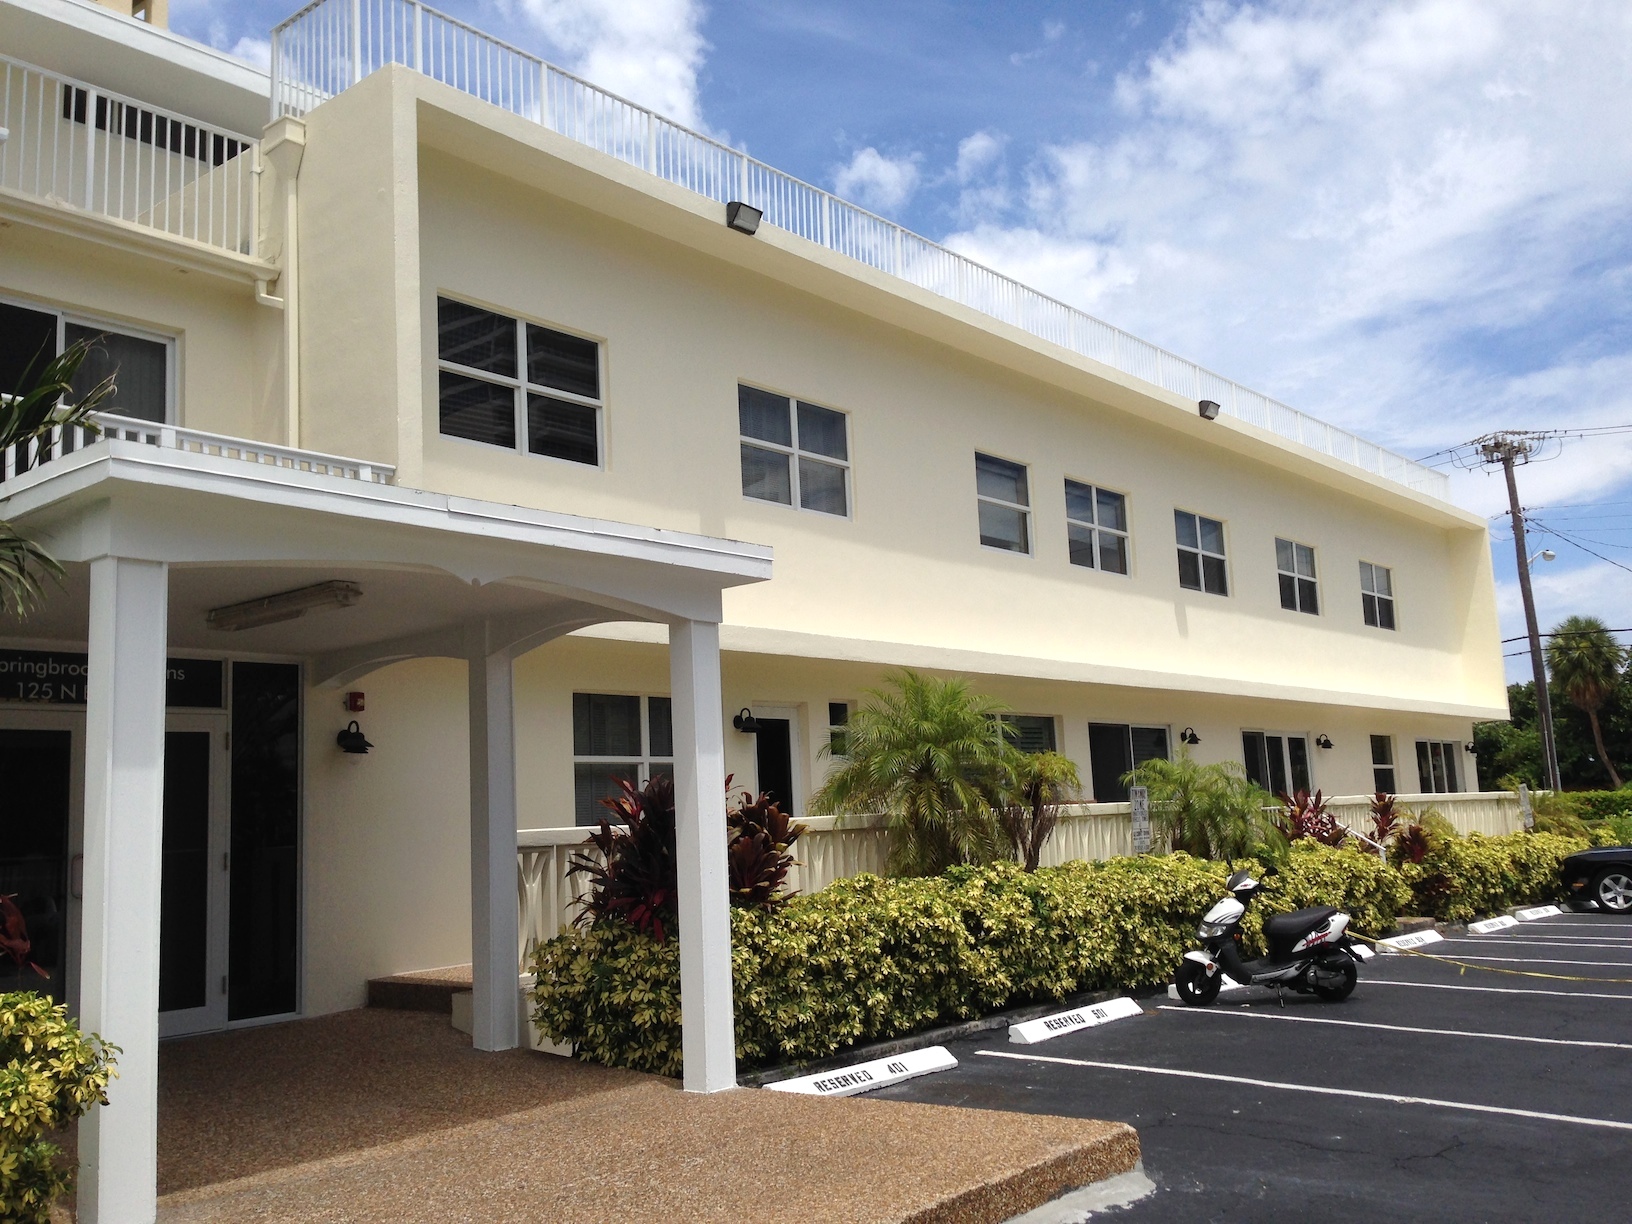
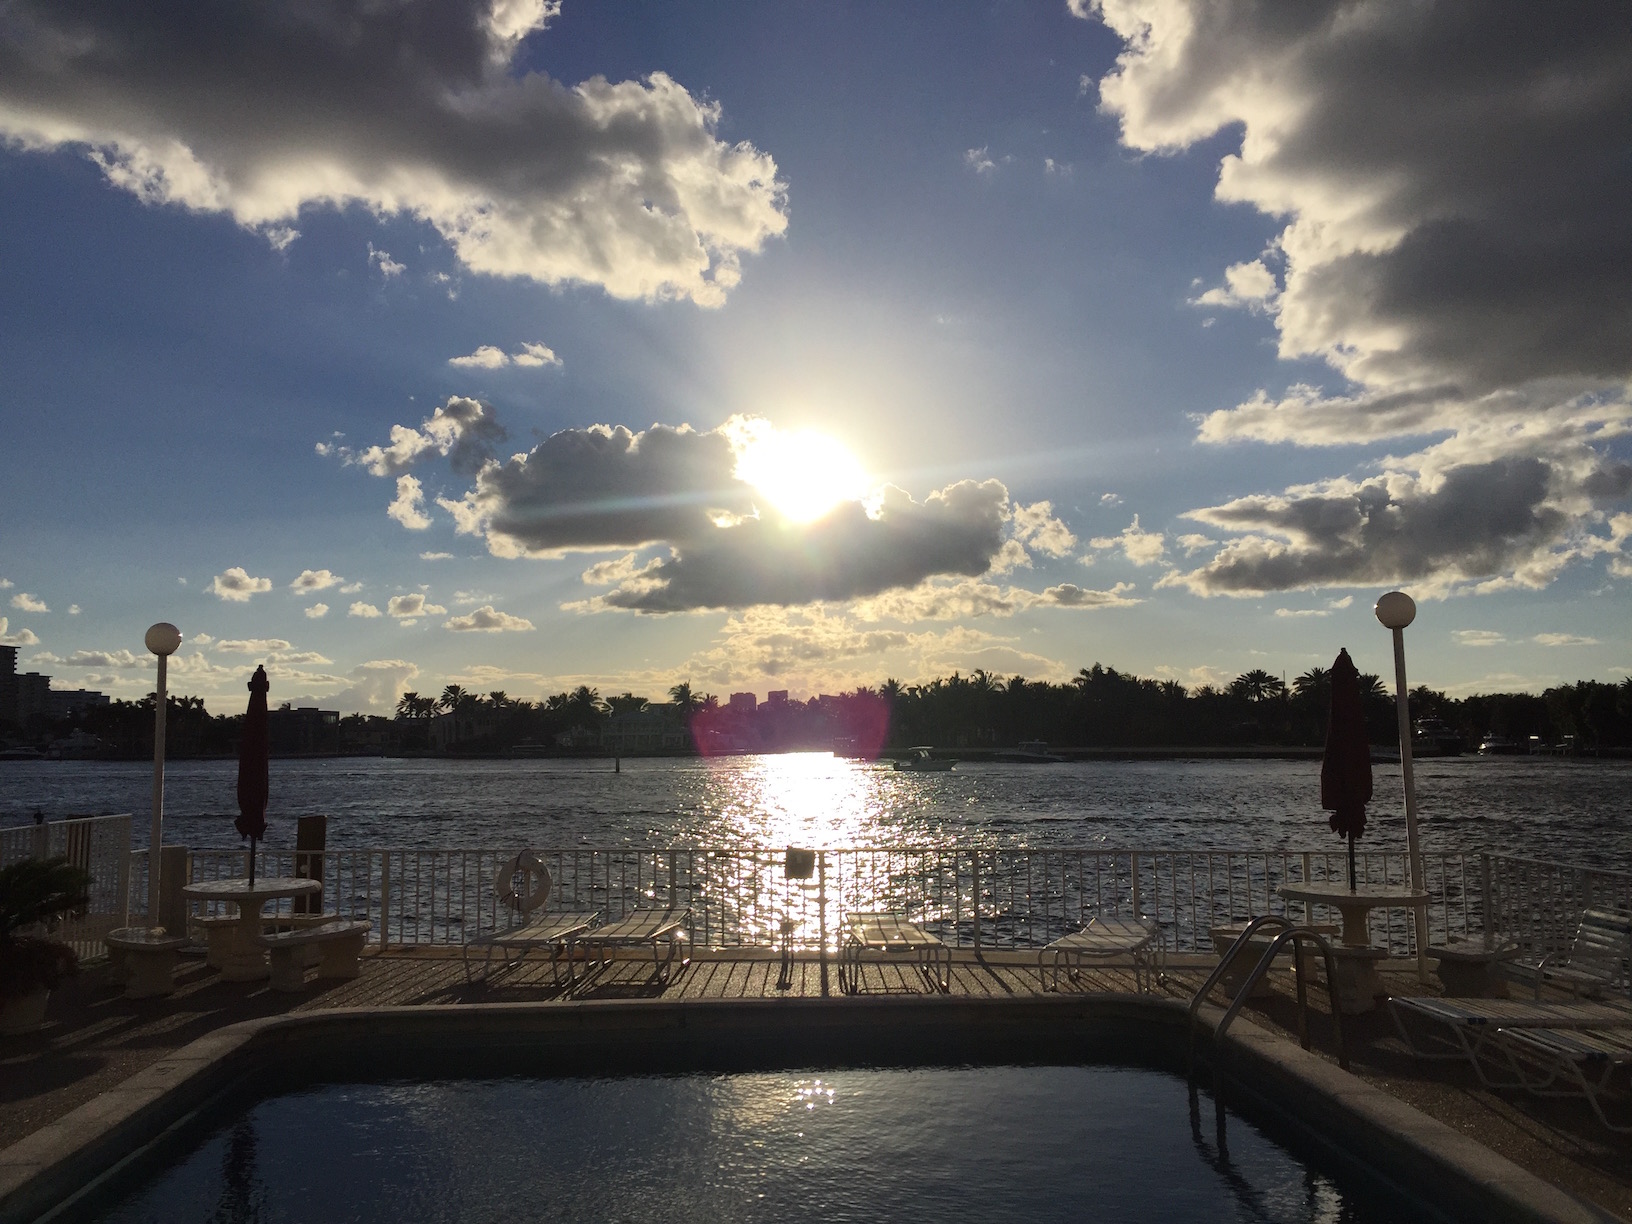
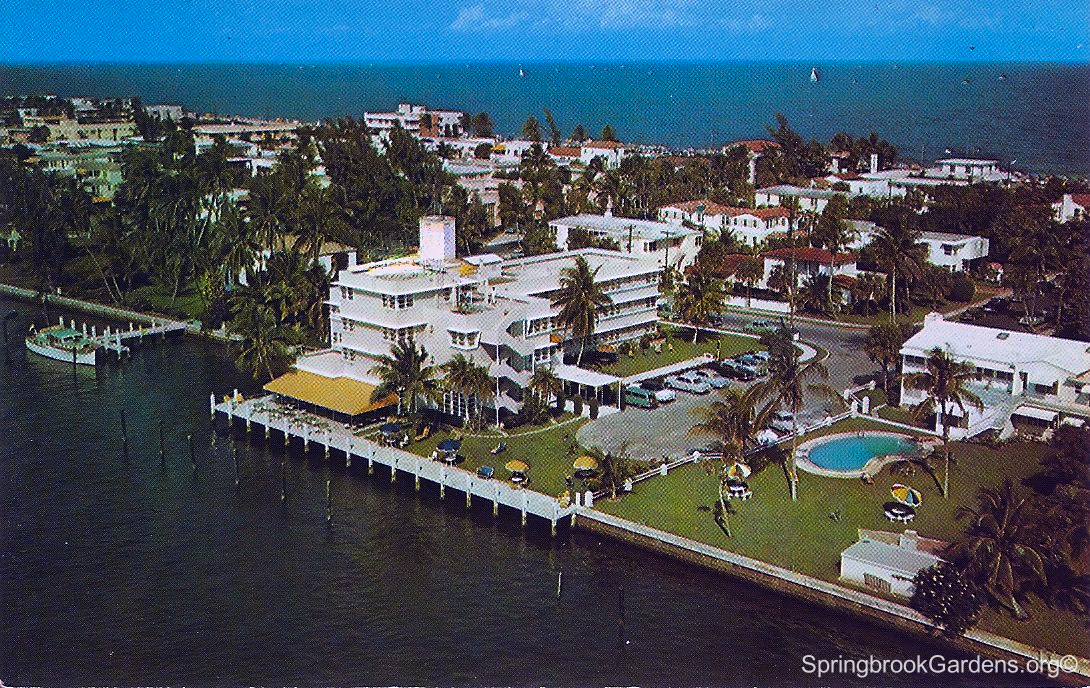

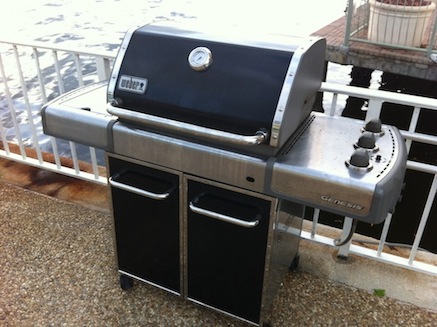
The barbecue grill is for the use of residents and authorized guests. For the comfort and safety of all, please remember that the Pool Deck is open from 8:00am until 10:00pm daily and is a designated Smoke-Free area. After use, clean the grill surface and once cool, replace the grill cover.
Lighting Instructions
Main Burner Lighting
- Read instructions before lighting (also printed inside left door)
- Open lid during lighting.
- All valves must be in the OFF position.
- Turn on gas using the yellow handle on the right side under the valves (ON=vertical; OFF=horizontal).
- Push burner (1) knob and turn to start/hi position.
- Push igniter button and hole until Burner (1) ignites. CAUTION: Observe if Burner (1) has ignited by looking through match light hole.
- Turn on Burner (2) and/or Burner (3). WARNING: If ignition does not occur for each burner in 5 seconds, turn burner control(s) OFF, wait 5 minutes, and repeat the lighting procedure or see Match Lighting instructions. Always light Burner (1) first. Burner (2) and Burner (3) ignite from Burner (1).
Side Burner Lighting
- Read instructions before lighting (also printed inside door).
- Open lid during lighting.
- All valves must be in the OFF position.
- Turn on gas using the yellow handle on the right side under the valves. (ON=vertical; OFF=horizontal)
- Push Side burner knob down and turn to start/hi position.
- Push ignition button several times to ignite. WARNING: If ignition does not occur in 5 seconds, turn burner control(s) OFF, wait 5 minutes, and repeat the lighting procedure or see Match Lighting instructions.
Match Lighting Instructions
- Open the lid.
- Make sure all burner control knobs are turned OFF. (Push each knob down and turn clockwise to ensure there are in the "OFF" position.
- Turn on gas using the yellow handle on the right side under the valves. (ON=vertical; OFF=horizontal)
- Insert match holder with lit match into motchligh home in front of the cooking box. WARNING: Do not lean over open barbecue. Keep your face and body at least one foot away from the match light hole when lighting the barbecue.
- Push Burner (1) control knob down and turn to start/hi.
- Check that the burner is lit by looking through the matchlight hole on the front of the cooking box. You should see a flame. WARNING: If burner does not light in 5 seconds, turn burner control knob OFF and wait 5 minutes to let the gas clear before you try again.
- After Burner (1) is lit you can turn on Burner (2) and Burner (3). Note: Always light Burner (1) first. The other burners ignite from Burner (1).
To Extinguish
- Push down and turn each burner control knob to the OFF position. Turn gas supply off by moving yellow handle to the horizontal position.
You can see the full instructions for the grill here: Lighting Instructions & User Manual.